No doubt, software development field and jobs related to them have boomed like nothing else from the last decade. So, this article is all about making students aware of the necessary tools, material, and kits required especially Computer Science students, who are aiming or targeting to head over to iOS, macOS, watchOS or tvOS development filed, which is not a bad option by any means.
Contents
Tools Required for iOS App development
In order to start your developments, you need the following tools, without them, I would not say that you can’t learn iOS/macOS or other related Apple products developments but, the user experience just sucks and you miss the tremendous advantages that you get while using the below-described tools and products.
1. Mac
First and foremost, you will need a MacBook laptop or an iMac or Mac mini that can run the Xcode which is the development environment used for building the Apple’s iPhones and Macs software and applications. The reason is very simple i.e. Xcode is not available for the Windows platform. You can buy any mac as per your requirements but, a tip is that your mac should have at least 8GB of ram and Intel i5 or above processor for better compatibility, fast processing, and enhanced user experience.
But, what if you can’t buy one of them? You can set up a virtual environment using VMWare on your Windows PC but, I would not recommend that because it makes your working environment laggy and at the end, you will need a MacBook to publish your applications. So, choosing this option is not a choice you should go for. Another option is that you can use macincloud.com, that has a service, where you can use the mac in cloud and Xcode pre-installed for your development but again, it’s up to you. I, personally would not recommend doing so, as it has certain limitations as well.
2. XCode
If you have a mac then, the software you need to install is Xcode. This is a software written by Apple engineers that allows you to write and test your applications for all sorts of Apple products software development.
This is a free software from Apple and the only software you need. The Xcode comes with various pre-installed SDK and inbuilt simulators that you can use to test your application in real-time. The current stable version of Xcode is 9.4.1 but, in WWDC 2018, Apple introduced us to Xcode 10 which is currently in beta phase.
Also, Read: Introduction to Automated Testing in Xcode
In order to download Xcode, You have two options:
- You can head over to the app store on your Mac PC and simply search it by typing Xcode. There, you will find the latest stable released version of the Xcode. The software download files are quite big (about 5.25GB) and you would need a good stable internet connectivity to download it.
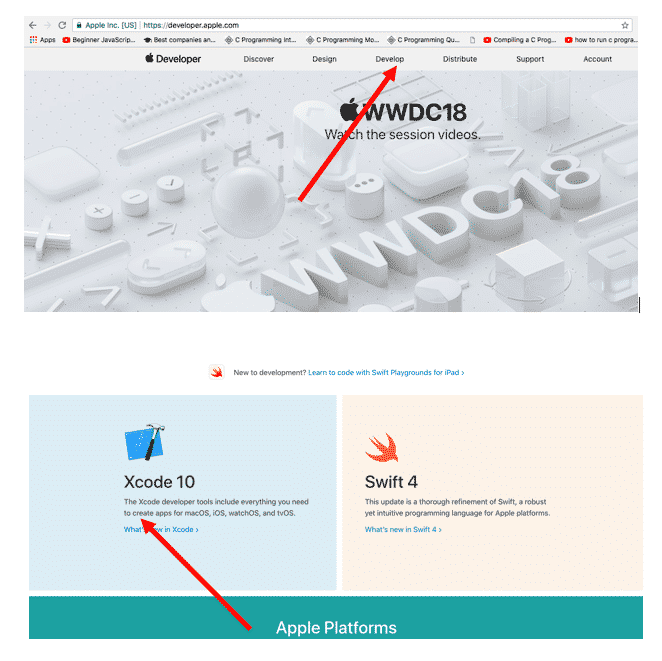
- The other option is that you can go to developer.apple.com and follow the steps shown below.
Go to develop options and then scroll down and click on the Xcode that shows you. Here Xcode 10 is shown as the latest release to download.
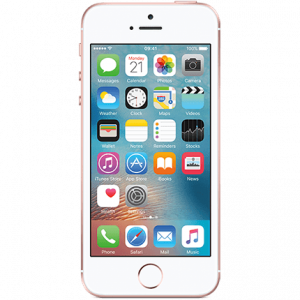
3. iPhone
Though, Xcode comes with various pre-installed simulators but, there are certain conditions, where you will need original hardware to test especially when your applications need to use camera functionality.
It is good if you have an iPhone from 5s to 10 but, if you are someone who is fascinated and willing to develop augmented reality apps then, I would recommend you to have an iPhone 6s or later since, ARKit needs Apple A9 chip or later to render the AR applications.
Also, Read: Create a QR code scanner using Swift Programming and Xcode
Conclusion
People even opt for cross-platform development for developing iPhones apps like Phone Gap, Xamarin, Appcelerator Titanium but it is advised to develop using native development environments. The problem with cross-platform is that your user experience will not be as nice and customizing your apps in terms of design could be a challenging task. Also, if you want to publish your apps after development to the App Store then, you have to get enrolled in the Apple developer program that costs you around 6000 INR/ Year.

