Many of you might be confused about upgrading from Windows 7 to Windows 10 and its procedure. Don’t worry; this article will let you know how to update Windows 7 to Windows 10.
Some features of Windows 10 you need to know
- Windows 10 is faster than Windows 7
- Windows 10 is more secure than Windows 7
- Windows 10 is Easier to Use Than Its Predecessors
- Windows 10 is more User-Friendly.
- Windows 10 has Gaming Optimization.
And many more features make Windows 10 a better Operating System. But, before you upgrade your Windows 7 to Windows 10, it is recommended to extract your Windows 7 key.
How to upgrade from Windows 7 to Windows 10
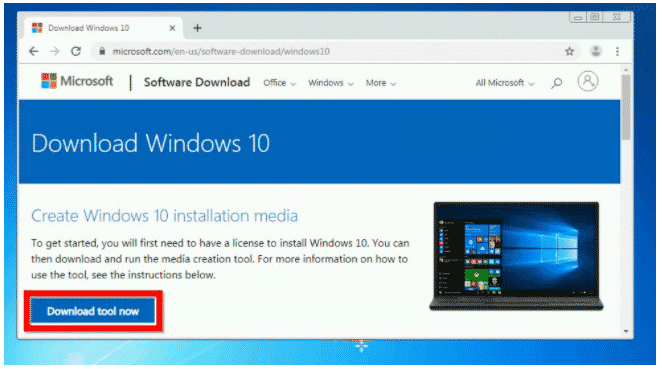
- From your Windows 7 PC, open Windows 10 Update page
- When the page opens, click the Download tool now link.
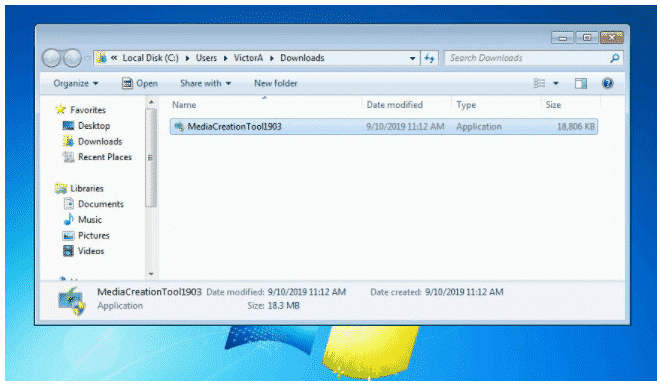
- Then save the file to a location on your computer.
- To get started, you will first need to have a license to install Windows 10. You can then download and run the media creation toot For more information on how to use the tool. See the instructions below.
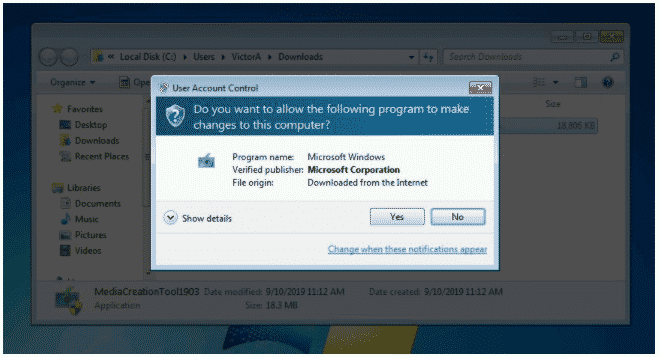
- Double-click the MediaCreationTool to initiate the update. Then on the User Account Control prompt, click Yes.
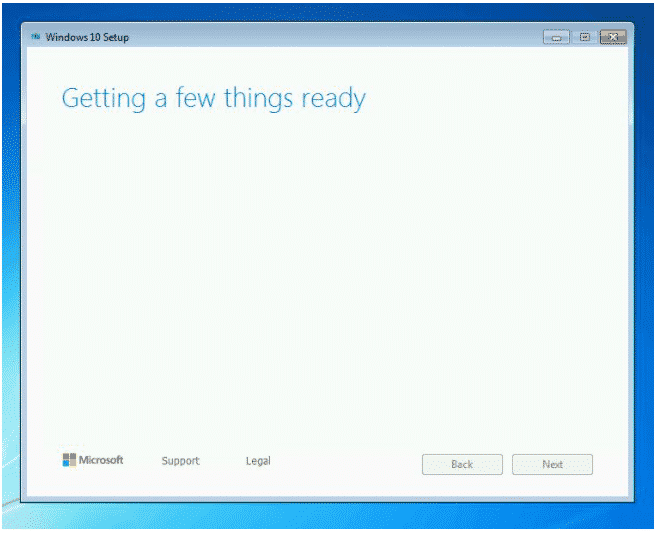
- Wait for the tool to get ready for the further procedure.
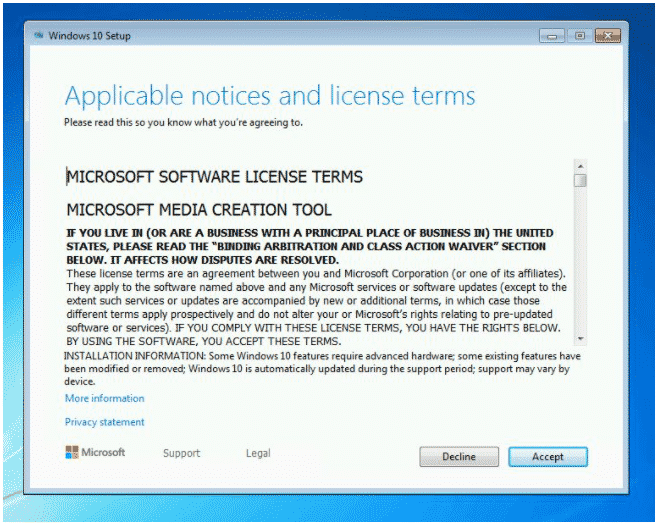
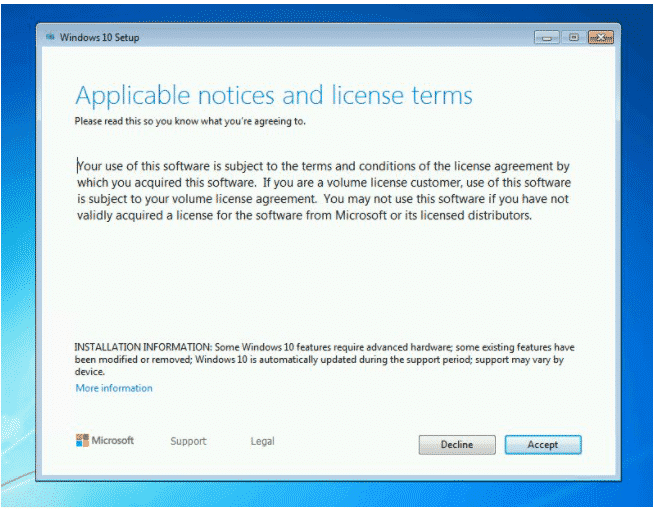
- Then, at the Applicable notices and license terms screen, click Accept.
- The tool will request another wait time for a while
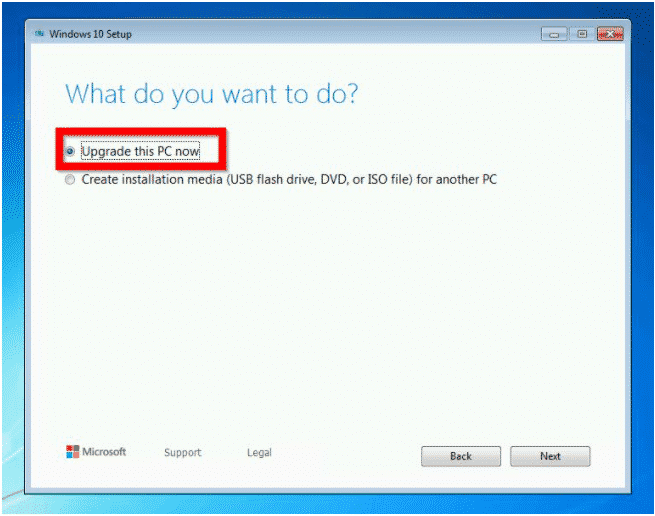
- Then it will load the screen you have been waiting for! Ensure that the Upgrade of this PC now option is selected. Then click Next.
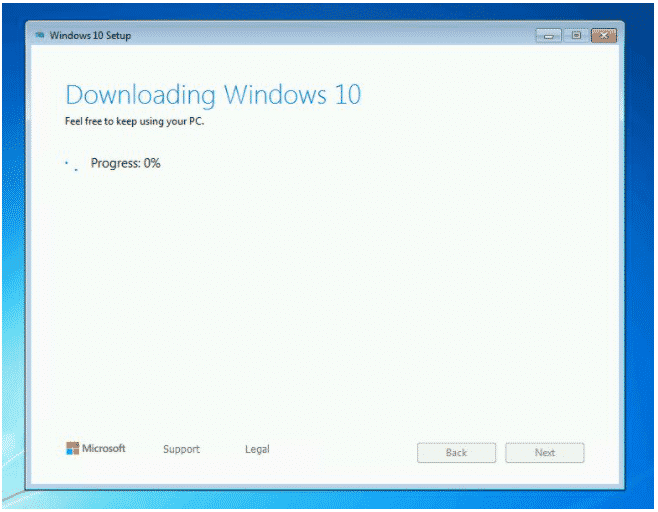
- The media creation tool will start downloading Windows 10. Depending on your internet connection’s speed, this takes between 40 to 60 minutes of time duration.
- When the download is completed, it will perform some checks; then, it will display another license agreement. Click Accept.
- The installer will check for updates and perform a few additional checks.
- The upgrade wizard will automatically determine the version of Windows 10 to install. This is based on your Windows 7 version.
- It will also automatically select the option to keep your personal files. If you want to change these settings, click Change what to Keep.
- Finally, at the Ready to Install screen, confirm that you are happy with the selection, then click on Install.
- Finally, your Windows 7 upgrade to Windows 10 will begin! Just Wait.
- After Windows 7 updates to Windows 10, log in with the same username you used in Windows 7. Windows 10 will take some time to run some updates.
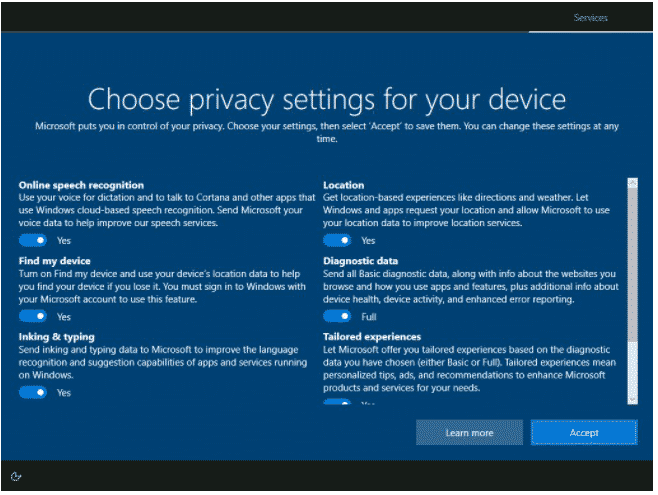
- On the next screen, configure privacy settings for your computer. When you finish, click on Accept.
- Now you have Windows 10 Installed!
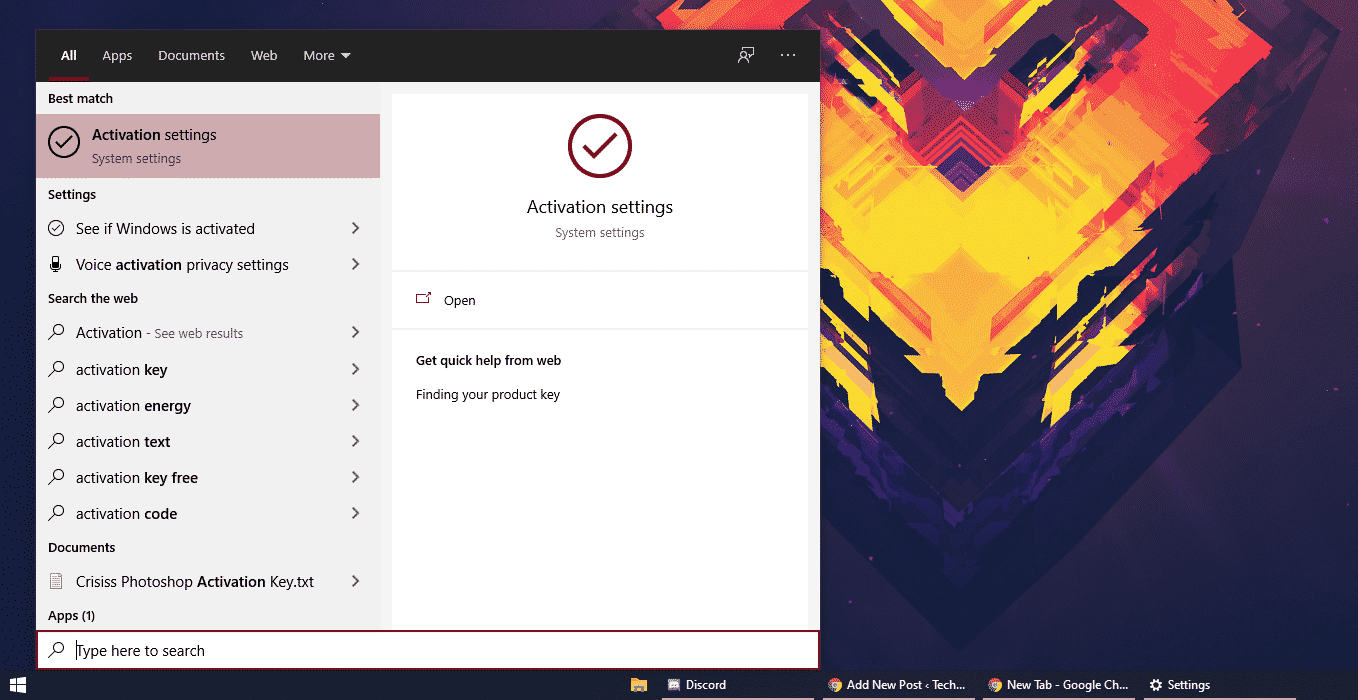
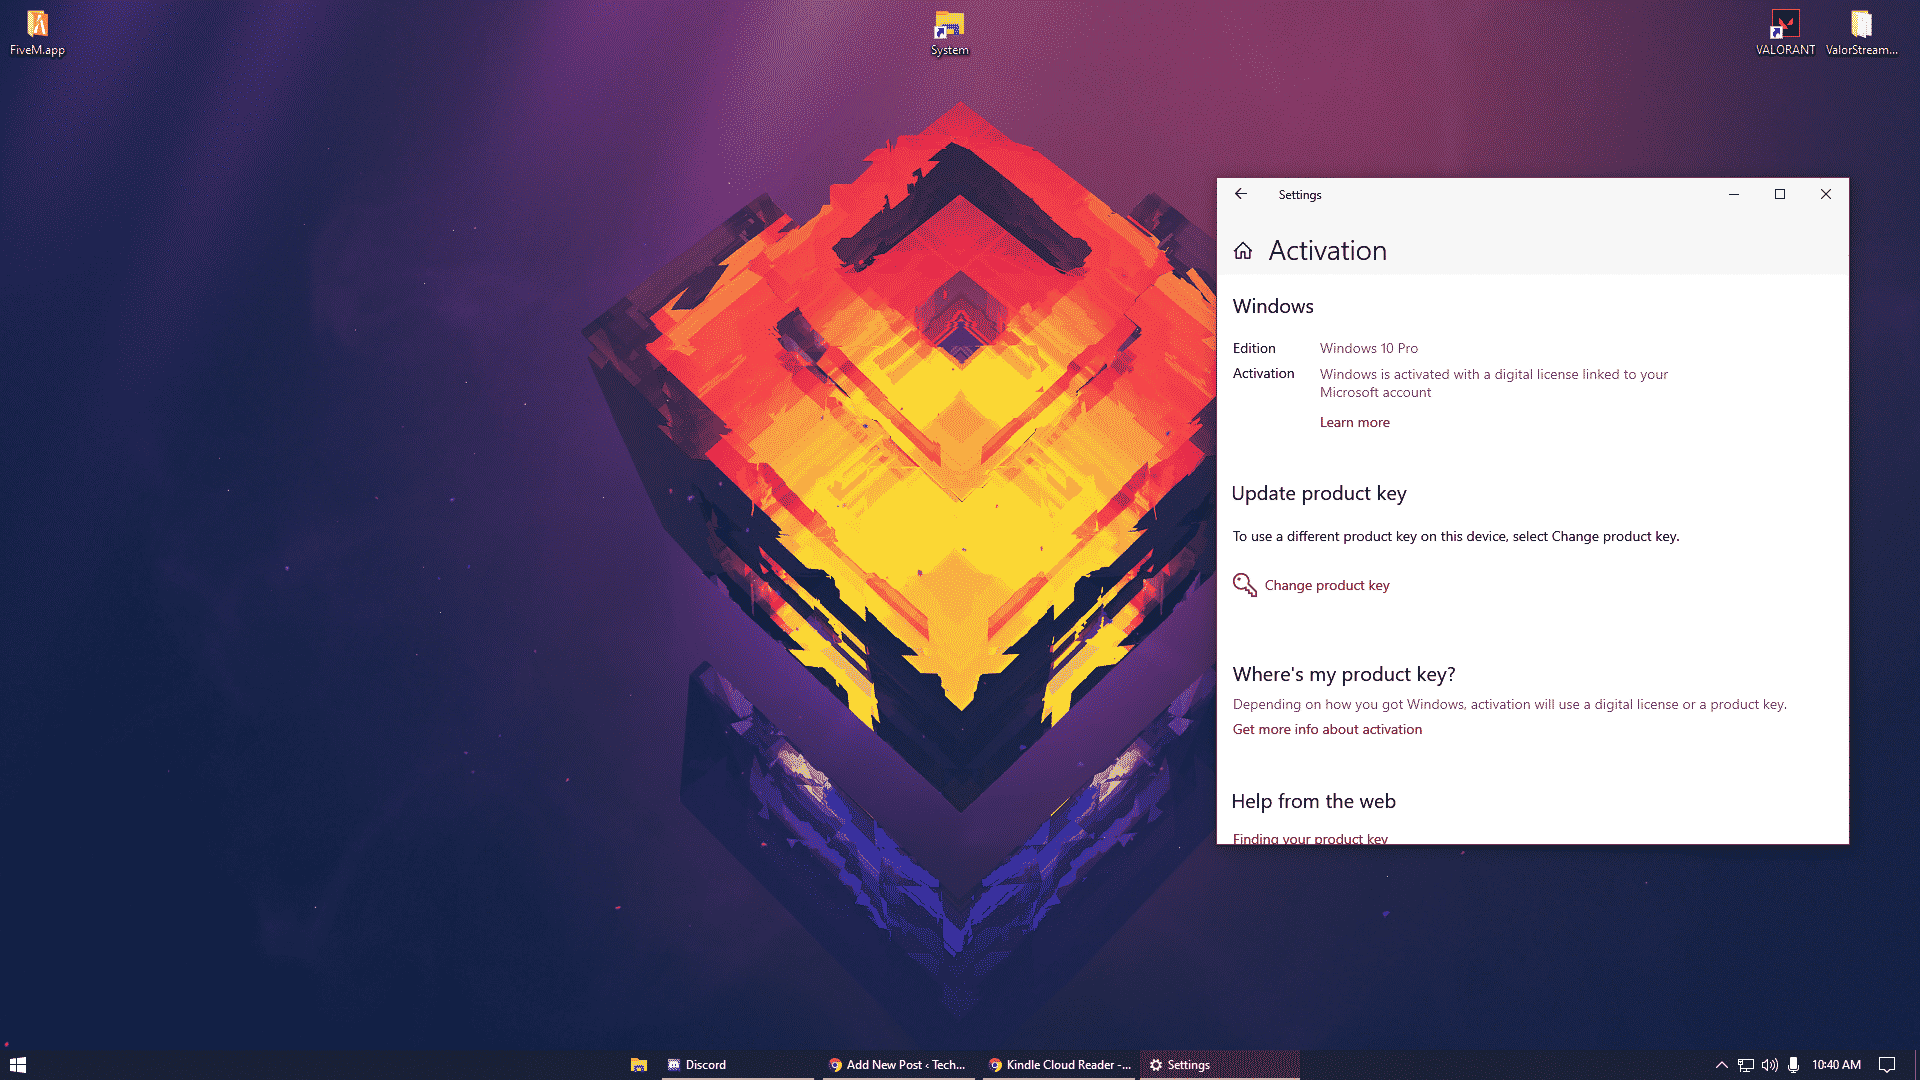
- To confirm that Windows 10 is activated with your Windows 7 key, search activation.
- Then, click on Activation Settings.
- Your Windows activation status will be displayed.
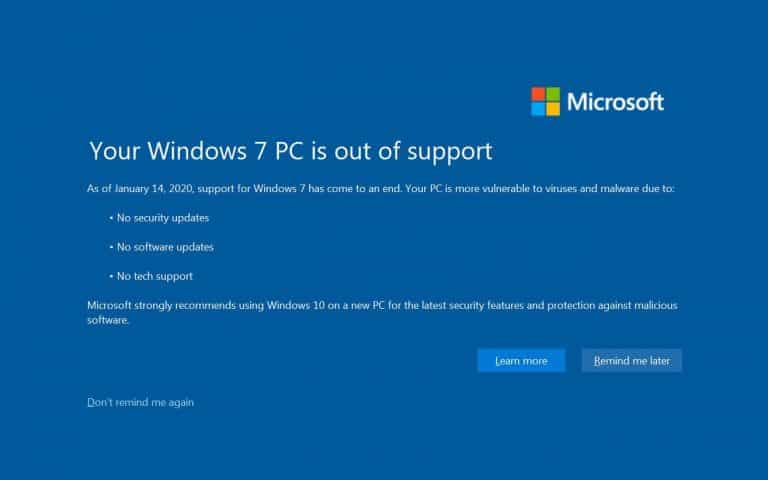
As you know, Microsoft declared that it would no longer offer support and updates for Windows 7 after January 2020.
This means that companies or individuals who choose to continue using Windows 7 after that will not receive updates, exposing their system to many potential bugs and security issues. However, there is one option. It is an organization that cannot be created using a Windows 7 volume license. You have the option of paying for a security renewal for an additional 3 years to switch times. Microsoft reports that the price of this extra security coverage will increase year by year.
By comparison, Windows 10 is an essential update for the system to maintain optimal performance. Windows 10 Enterprise users can delay/postpone the installation until the update is free. To minimize overall downtime, Microsoft has announced that it will push these updates to Enterprise users too often.

