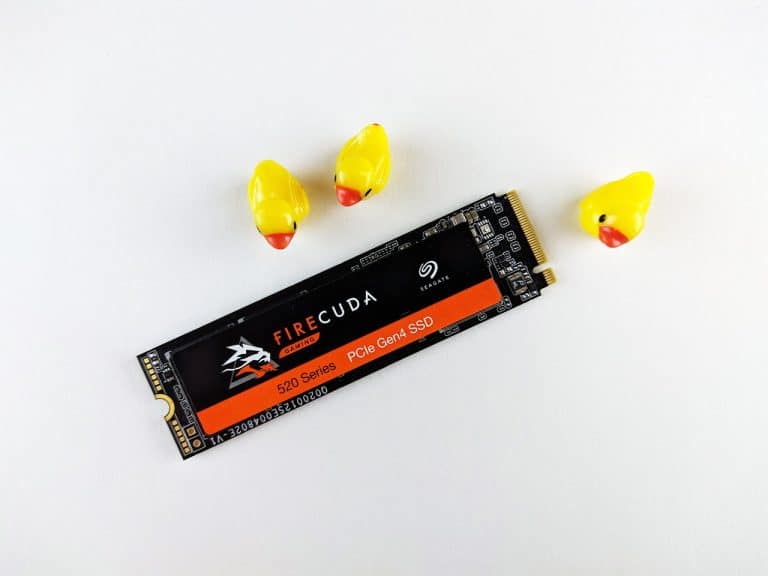
Unlike HDDs, solid-state drives have proven invaluable for individuals looking to improve their laptops and PC load times, power, and reliability. While they are expensive compared to hard disk drives, SDDs performance makes them worth the cost. Whether you want to upgrade your PC or build a custom computer, use the steps below to guide your solid-state drive installation.
Contents
What You Should Know Before Installing SSD
If you haven’t replaced or upgraded computer hardware before, you should know a few things before tinkering around with your computer’s case. Adhere to the following precautions to complete the installation successfully:
- Unplug your computer from the power source – while it appears obvious, you can easily forget to unplug the PCs, especially with the excitement of installing your new SSD. This can shock you and the laptop’s hardware.
- Beware of static – use a static mat or ESD bracelet to avoid electrical damage to computer micro-components from the static force.
- Be organized – apart from ensuring functionality, the internal components of your computer should be secured and tucked away neatly. Identify where to position the new SSD and accompanying cables prior.
- Follow the manufacturer’s instructions.
Steps for Installing SSD
Installing an SSD requires some mechanical proficiency and cautious plugging and unplugging. Below are the steps to follow for a successful installation:
- Remove papers and plastic bags to ensure that you are in a static-free environment. As mentioned, static forces can affect computer parts and micro-components.
- Gather all the required supplies – you will need a screwdriver, 2.5-inch SSD, and your computer/laptop’s manual. You need the user manual as a guide on how to open and close the PC.
- Shut down your computer. Power off the computer, unplug it from the power source and hold the power button down for at least 5 seconds to release residual electricity.
- Open the desktop case – you’ll need the manufacturer’s manual for this. Unscrew and remove the latches holding your computer case. Make sure you can access the hard disk bay and SATA ports clearly. Once open, touch the unpainted metal surface to ground yourself. This safety measure additionally protects your system components and drive from static force during installation.
- Locate the drive bay – some drive bays and existing hard disk drives may be larger than the standard SSD size. If your laptop doesn’t have a 2.5-inch drive bay, you’ll need a converter (2.5 to 3.5-inch) to fit the SSD snugly. Remove the existing drive by disconnecting the attached cables and brackets.
- Fit the new SSD – the SSD should fit easily and snugly. Don’t force the SSD into the drive bay. If you want to install the new SSD as your secondary drive, you’ll need a SATA cable, which attaches to the motherboard through the SATA connector. You should then use the SATA power cable from the laptop’s power supply to power the new SSD.
- Reassemble the laptop/desktop and power it on.
How to Transfer Files from Old Drive to New SSD
Whether you swapped the HDD for SSD or installed the SSD as a secondary drive, you might need to move your software programs and games into the new SSD. There are two options for doing this:
1. Moving Files in Windows
You can transfer files drive to drive using Windows simply. Once you’ve installed the new SSD correctly, the drive will appear in Windows. You can access both drives and move files from one drive to another.
2. Using Third-party Software
Third-party software facilitates file transfer through disk cloning. This feature allows the movement of files and Windows OS between drives. Some software has already been installed software. You can alternatively search online for the best cloning software.
The Bottom Line
Installing and setting up a new SSD isn’t complicated. However, you should follow the manufacturer’s directions and double-check the connections.

