When your child is old enough, they can get their personal cellphone. Parents’ first concern after purchasing a mobile phone for their child is apt to be about how to establish parental controls to prevent them from spending too many hours on it and viewing things they don’t need to. The world has changed and nowadays parents don’t need to worry too much about what their kids are doing since iPhone and android are growing better at providing in-built parental features.
Users don’t need to stress regarding how they’ll cope when kids hit the stage when these parenting restrictions are no longer necessary—but don’t stress about it just yet.
How do I set up Android parental controls?
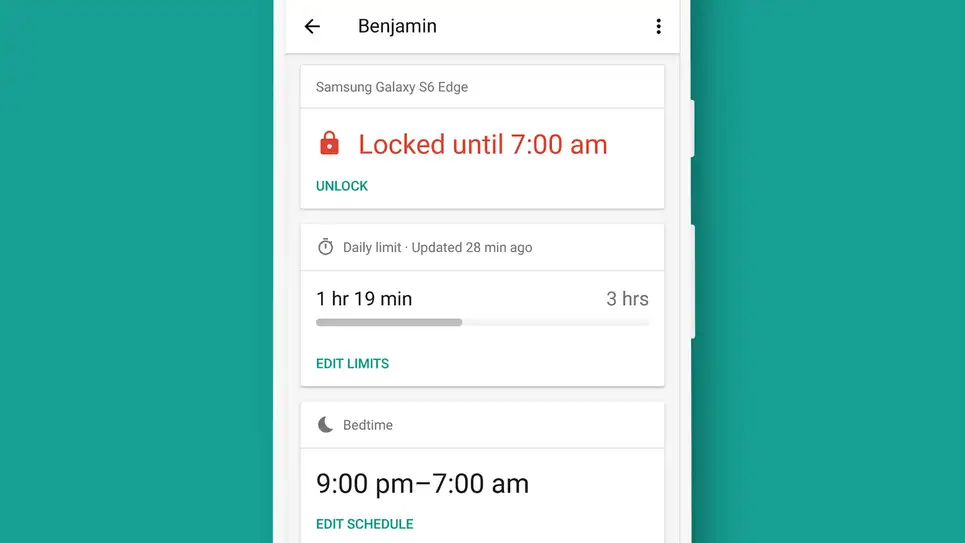
Make certain your kid has a Gmail account connected to yours before establishing an Android smartphone for them. Apps like Google Family Link make it easy to accomplish this: To use it for the first time, you’ll be asked to set up a kid profile on your Android or iOS device. The + (plus) option in the upper right corner of the screen may be used to add more children.
In order to get into the Android smartphone you just purchased for your kid using their new Google login, simply register a new one. The first time you log in to your child’s account, use the information you’ve just established to sign in and authenticate that you’re a guardian by entering your original passcode. The Family Link application may then be used to control all aspects of your kid’s on-screen time.
Configure screen time restrictions, disable applications, and track your kid’s device’s exact position with this parental control software. It is possible to restrict the number of applications that may be downloaded on the Play Store sans your consent using various restrictions, such as Google Search restrictions as well as Chrome sites. The Family Link application allows you to restrict your child’s access to YouTube if you choose not to use YouTube Kids.
How do I set up iOS parental controls?
A similar process of setting up an Android smartphone for your child also applies to setting up an Apple ID and linking it to your own via a feature called Family Sharing. The App Store, online filtering, and Siri searches are all under your purview now, as is everything else on your phone. Family Sharing also includes perks like the option to know where your nearest and dearest are plus the option to manage memberships for providers like Apple Music or iCloud storage. Navigate to Settings, then click on your username at the summit of the page to add a new kid profile.
After selecting Family Sharing, mentioning a user, and setting up a profile for a kid, click on Continue to proceed. Make sure your child has their personal email account for this since if you don’t already, they’ll need one. When your youngster gets a new iPhone, you may use the unique Apple ID you just created to authenticate him or her.
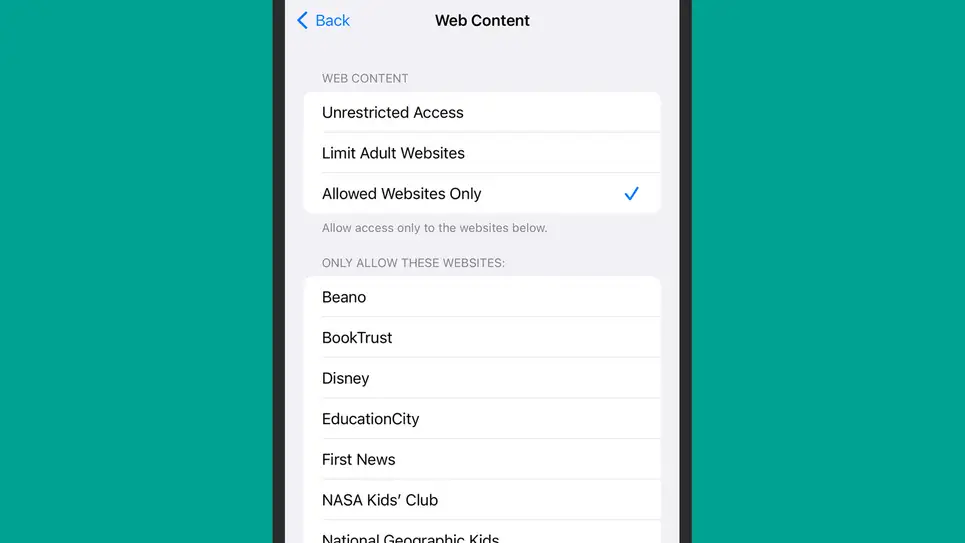
The next step is to impose certain limitations, which one may implement on the kid’s phone instead of your own. To get started, you may check out Screen Time (under Settings): Choose This is My Child’s iPhone. Under Screen Time, users can set time limits for applications, manage the amount of time spent on the phone, restrict access to particular connections, and allow or deny exposure to adult material in regards to music, films, and audiobooks, among other options.


